Video Interview Lighting Setup in Five Minutes
A timed, no-purchase sequence for camera height and light: face your main light source, raise the lens to eye level, test the frame in self-view, and fix what fails.
For a video interview lighting setup, sit facing your main light source — a window or a lamp — so it falls on your face rather than behind you, and put the camera at eye level so the lens looks straight at you. Add one room light behind the camera to lift the shadows, then check the frame in the app's self-view before the call. Five minutes, no purchases: window, lamp, camera height, self-view test.
The one rule: light your face, not your background
Most webcams and phone cameras meter for the whole frame, and a very bright window pulls that average up, so your face is rendered too dark. The wall behind you looks correctly exposed; you do not.
The test takes two seconds. In the self-view, compare your face with the wall behind you. If your face is darker than that wall, the light is on the wrong side of you, and no camera setting fixes it.
The fix is one move: turn your chair, or turn the lamp, so the bright source is in front of you. Then look at the self-view again. This is the single change that does most of the work in any video interview lighting setup, and it costs nothing.
Minute 1–2: put the camera at eye level
A laptop flat on a desk looks up at you. From that angle the frame fills with ceiling, the lens sees up your nose, and your chin and neck read heavier than they are. Raising the lens to your eye line changes how your face reads more than any lamp will.
The measurement
- Lens level with your eyes. Stack books, a box or a folded towel under the laptop until the camera sits at eye height.
- About an arm's length away. Close enough that your head and shoulders fill the frame, far enough that the lens is not a fisheye inches from your nose.
- Top of the frame just above your head. You want a little headroom, not a portrait of the ceiling.
The chair comes first
Raising the laptop without raising the chair leaves you looking down and slouching, which undoes the point. Adjust the chair first — feet flat, back supported, screen at a comfortable distance — then raise the screen to meet your eyes. Sit up, check the frame, and only then move on.
Minute 3: one key light in front of you
Use what the room already has. A window with daylight is the best free key light you own. If it is dark outside, a desk lamp with a plain white shade works.
Place it in front of you and slightly to one side, roughly 45 degrees off your nose. Keep it about an arm's length away and a little above eye level, so the light falls down your face rather than up it. Light from above and in front models the face gently; light from below reverses every shadow and looks wrong to the eye, even when the viewer cannot say why.
Keep the lamp off your brow
A lamp directly overhead or directly under your chin throws hard shadows under the eyes and nose. If you see dark pools under both eyes, move the lamp forward and down, toward your face, rather than reaching for a brighter bulb.
Minute 4: fill the shadow side and separate from the wall
One light leaves the far side of your face dark. That is fine — some shadow gives a face its shape — but a black half-face is distracting. Add a second, dimmer source on the other side: a second lamp, a floor lamp, or a plain pale wall bouncing light back at you.
Then separate yourself from the background. A ceiling light behind the camera is enough. Without it, you become a dark shape against a bright wall, and the viewer's eye goes to the wall.
Do not flatten the face
Adding fill until the face is flat and shadowless is the failure here. Keep the key light noticeably brighter than the fill — if the two sides of your face look equally lit, dim the fill or move it further away. Shape is what makes a face read as a face.
Minute 5: test your video interview lighting setup in self-view
Open the app's self-view or record a 20-second test clip, and watch yourself as a stranger would. Check four things: your face is brighter than the background, both eyes are lit, there is no hard shadow under the nose, and there is no glare on your glasses.
| What you see | What it means | The fix |
|---|---|---|
| Silhouette: face darker than the wall | The bright source is behind you | Turn your chair or the lamp so the light is in front |
| Orange or yellow cast on skin | A warm bulb is the main light | Swap to a cooler bulb or add daylight from a window |
| Hard shadow under the nose or eyes | The key light is too high or too close | Move it forward and down, an arm's length away |
| Glare on glasses | The light is reflecting off the lens into the camera | Lower the light or tilt the frames down slightly |
Then look past yourself. A plain wall or a tidy shelf is enough. Anything bright or moving behind you — a window, a TV, a doorway people walk through — pulls the eye away from your face. The same frame test tells you whether your top is working, since a plain top against a plain wall keeps attention on your face.
A worked example
A candidate sets up at a desk with a bright window behind them and a laptop flat on the desk. In the self-view, their face is a dark oval and the window is a white rectangle; the lens is looking up at their chin.
They make two changes. First, they turn the chair 90 degrees so the window is now in front of them and slightly to their left. Second, they stack two books under the laptop until the lens is level with their eyes.
In the new self-view the face is the brightest thing in the frame, both eyes are lit, the window is no longer visible behind them, and the camera looks straight at them instead of up. They confirm it against the four points in the table — face brighter than the wall, both eyes lit, no hard shadow under the nose, no glare — then stop adjusting. Same room, same laptop, same five minutes.
What to skip, and when five minutes is not enough
None of these solve the two problems that matter — backlight and camera height:
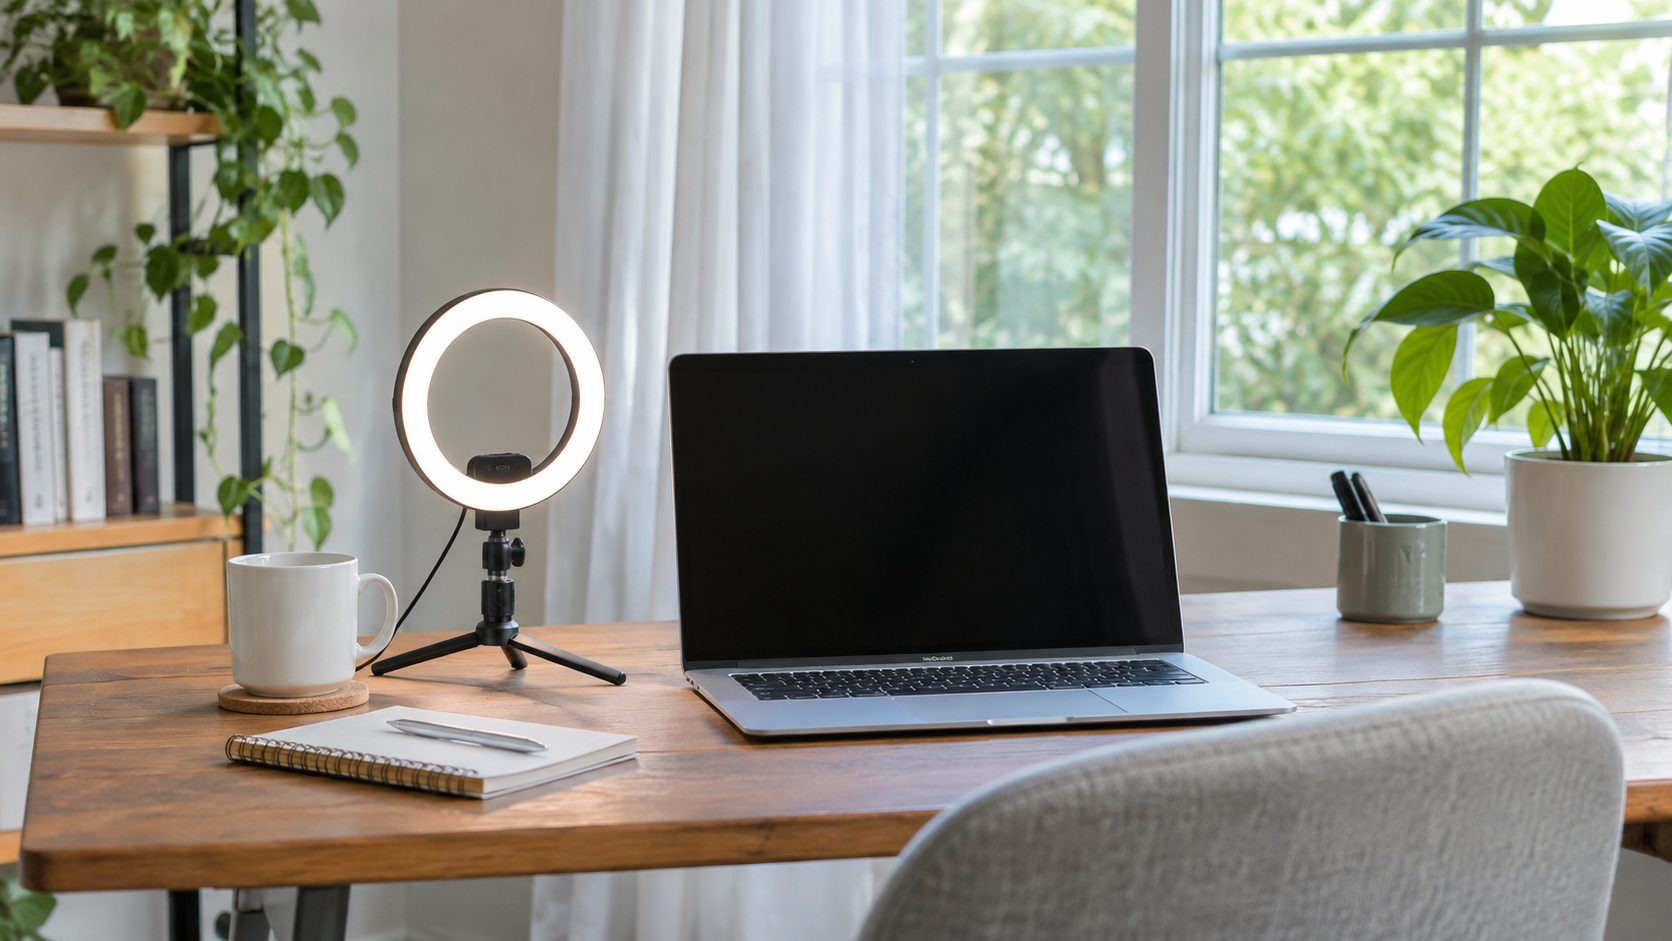
- Ring lights. A ring light in front of you is a working key light, so it is not useless — but it does nothing a window or desk lamp in the same position would not do, and it does not raise a lens that is below your chin. Skip it unless you already own one.
- Softboxes and studio kits. They soften a light you have already placed correctly; they cannot move a window behind you or lift a lens to eye level. The five-minute fixes above do both for free.
- Coloured backlights. They light the wall, not your face, and they add a distraction behind you.
- A new webcam. A better sensor helps a dim room, but it cannot reposition a light or raise a lens. Fix the geometry first.
When to spend longer: a room with one weak bulb, or a window that only gives light from behind and cannot be turned toward. In that case, move to another room rather than buying gear — a kitchen table facing a window beats a dark study with new equipment. If you are also checking sound, the full remote interview setup checklist covers the rest of the call, and where to look on camera is the next thing to practise once the frame is right.
Stop adjusting when the frame passes
If the self-view shows your face clearly brighter than the wall behind it and both eyes lit, stop adjusting and rehearse your answers. The setup is a means to an interview, not the interview. Run the same four checks once more on the day, using the day-before interview checklist for everything else that needs to be ready.
Frequently asked questions
Should I use a ring light for a video interview?
Only if you already own one and it sits in front of you. In that position it works as a key light, but it offers nothing a window or desk lamp in the same spot would not, and it will not lift a lens that sits below your chin. If your face already outshines the wall and both eyes are lit, adding one changes little.
My room only has a window behind me — what can I do?
Move rather than buy. Turn the desk or chair so the window is at your front or side, or relocate to another room for the call. If neither is possible, close the curtain and light your face with a lamp in front of you. Blocking the backlight is always better than adding more light to compete with it.
Does a virtual background change how my lighting looks?
It changes the background, not your face. A virtual background can blur or replace a bright wall, which reduces the contrast problem, but the camera still meters the whole frame, so backlight on your face remains. Set your key light first, then decide whether you need a virtual background at all.
How do I stop my glasses reflecting the screen during a video interview?
Glare can come from the key light or from the screen itself. Try lowering or side-shifting the light first, then dim the screen slightly or tilt the lid back, and re-check in self-view. Test with the interview app open, since that is the light you will actually face.
Is it worth buying a webcam for interview lighting, or is my laptop camera enough?
Your laptop camera is enough once the lens is at eye level and your face is the brightest thing in frame. A separate webcam mainly helps in genuinely dim rooms and gives you more mounting options. Buy one only after you have turned your chair toward the light and raised the laptop; the geometry matters more than the sensor.
Prepping for a video interview? See how AI Interview assistant works.